October 10th 2010
Podcast101 - Creating and Hosting an Audio Podcast
Continue on to Step 5 -->
<-- Go Back to Step 3
Step 4: Levelating the Podcast
One of the most important tools you can use to make your podcast sound more professional is a free program called Levelator from Gigavox.com. This tool levels out all of the volume levels throughout your podcast to give you one consistent audio level throughout the entire podcast. Without getting to techie about how this works we will say it works and it works very well. But as with any tool it needs to be used at the right time and for the right reasons.
This is not a tool you will want to use if there is lots of noise in the background as it will bring up that noise. You will want to make sure your background noise is to a minimum before using this. All that being said this tool is great and when used in most cases it will greatly improve the overall feel of the podcast.
To get this program go to the website for Gigavox, then download and install your free copy.
Levelator is available for Mac OS 10.4 or greater, Window XP, Vista and 7 and Linux. To use this program you will need to export your recording into .WAV or .AIFF format. For this tutorial we will stick with .WAV format.
Please Note - Levelator does not work with .MP3 format.
So if you want to levelate the recording you did with Live Office Free Conferencing mentioned in Step2 you will need to first import that file into Audacity and then export back out as .WAV file. See Step1 for additional information about exporting to WAV format using Audacity.
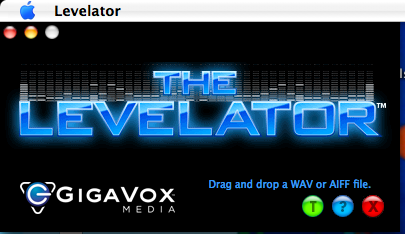
After you install Levelator you will need to launch the program. It will look like that above when opened. There are no settings to adjust and / or preferences to adjust. When you launch it for the first time it is all setup and ready to be used.
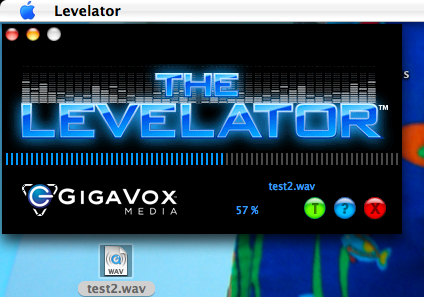
As it says on the application simply drag and drop the file you want to levelate. In this case the file we are choosing is called test2.wav. That is all you need to do, Levelator will do the rest. You will see a progress bar in Levelator that will let you know how much of the file has been levelated.
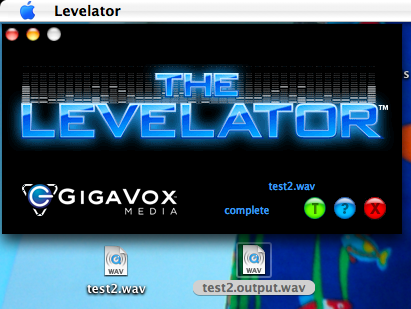
When it is done, there will be a new file created. In this case the new file is called test2.output.wav. The original file test2.wav is still available and is left unchanged.
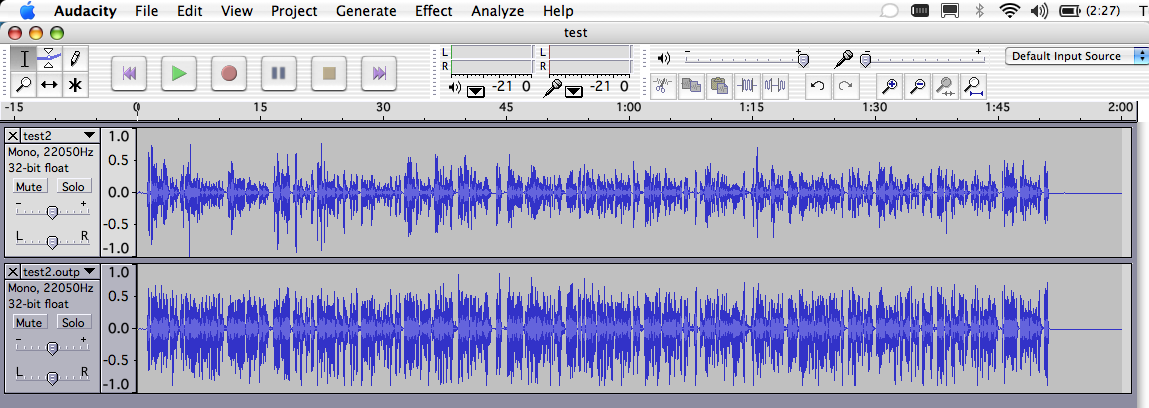
The screen shot above shows the original file and the new levelated file side by side. As you can see the levelated file (on the bottom) has a more consistent peak level across the entire recording.
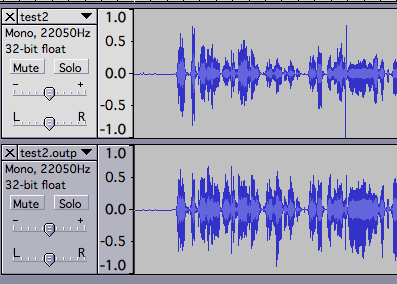
If we zoom in on one are in the recording the changes are even clearer. Levelator not only brings lower volume levels up, it also reduces spikes. In the top file you can see a single pop (spike) on the right side, this is greatly reduced on the bottom file,
At this point we are ready to take the levelated file and convert it from .WAV format to .MP3. format, which we cover in Step5, this is also called Encoding the file into .MP3 format.
Continue on to Step 5 -->
<-- Go Back to Step 3
Top
If you liked this tutorial make sure you put a link to it from your website.
http://www.podcast411.com/podcast101/index.html
If you have comments / questions you would like to add please send an email to the address below and we will post comments / questions on this page.
rob AT podcast411 DOT com
Comments / Questions
.
|