March 24th, 2007
Creating and Hosting an Audio Podcast for Free
Continue on to Step 8 -->
<-- Go Back to Step 6
Step 7: Setting up the hosting service At this point the MP3 file is completed with all the proper ID3 tags, but what do you do with the file? That is a common question. First we need to drag the MP3 file out of iTunes and to a place on your computer where you can easily locate it later. (I always just drag it to my desktop and keep it there until after I am done uploading it)
Note: You will need to rename the file as when you drag it out, all of the info in the name tag, then becomes the filename. Just rename to something shorter and WITH OUT SPACES. I rename my files as 411_070320.mp3 Where 070320 is the Year / Month / Day. I use the yymmdd format because it sorts better in my folders.
The service we are going to show you in this tutorial is Gcast.com, which offers free hosting of podcasts. As mentioned earlier there are other good free and cheap podcast services. Libsyn.com is the podcast hosting service used to host the MP3 files for podCast411, which is a $5 a month service. I would recommend you look at Libsyn.com if you have any plans of trying to monetize your podcast. However, at this point it will really not matter who you choose as a host - as we are going to set up the feed in Step 8 to allow you to switch from one hosting service to another with no impact on your listeners.
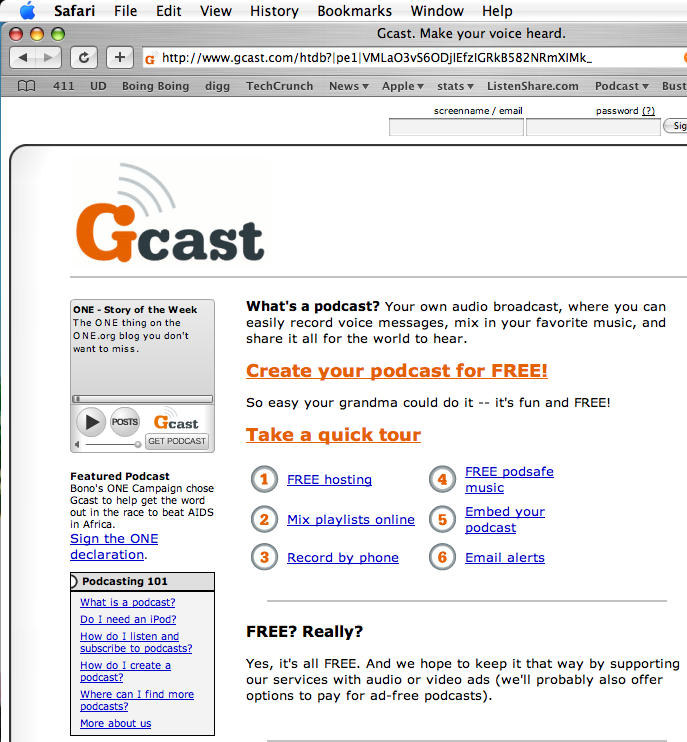
First go to gcast.com. Then click on Create your Podcast for FREE
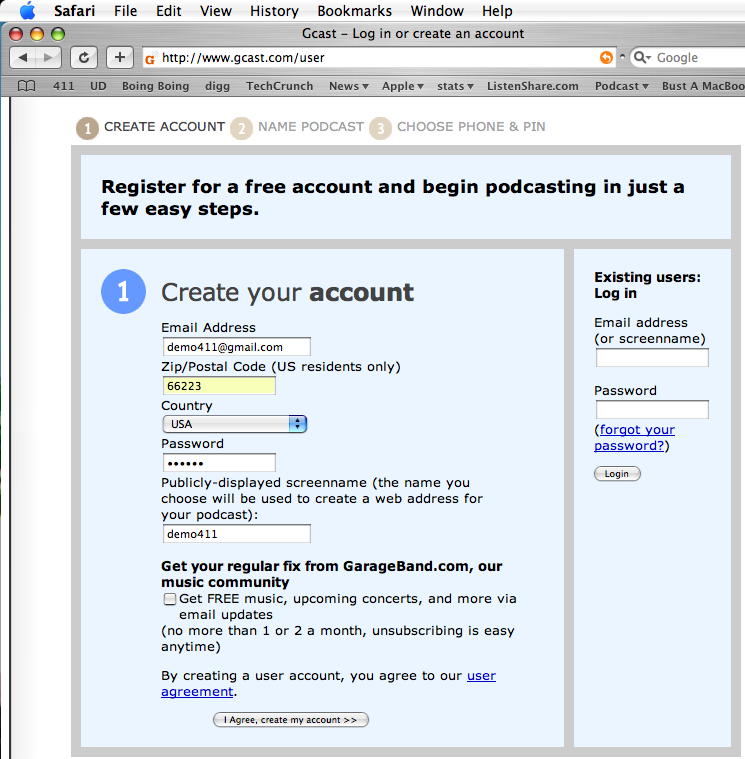
You will be taken to a page to start creating your account. Enter in the information for this page and click I agree, create my account.
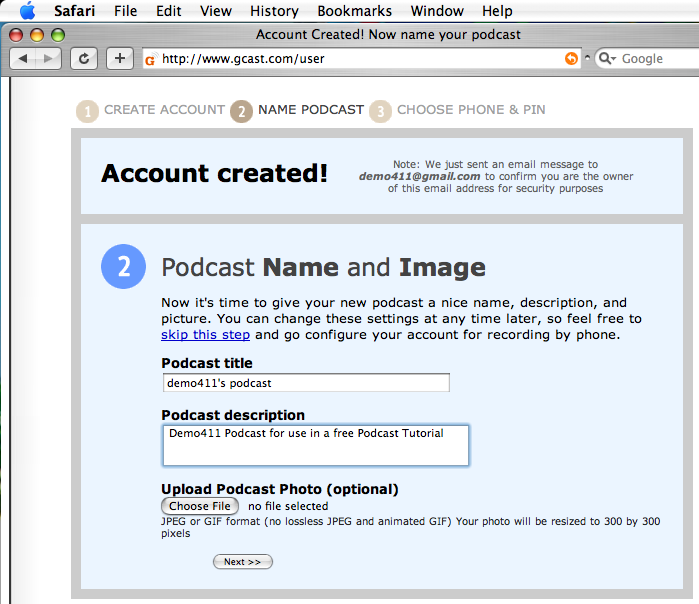
Next enter in the information for the Podcast Title and Podcast Description however do NOT add in the podcast photo. We will do this in Step 8. If you add in a photo at this step it will cause the feed to have an error later on - so do NOT add in the photo!!!
Next click Next
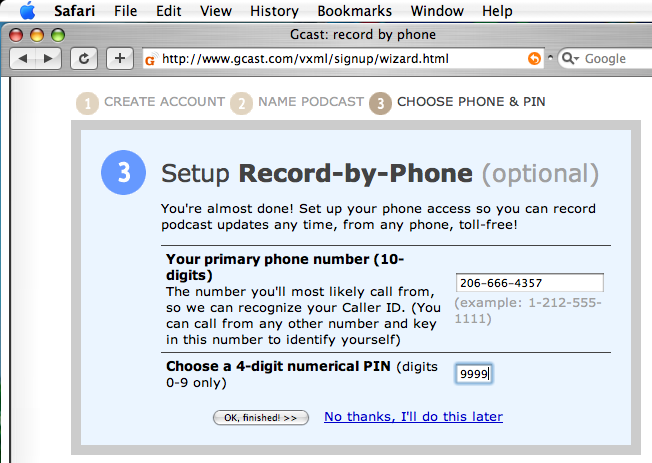
This part is optional but if you would like to the option to be able to call in from the road and leave a message for your podcast that gets added into the feed then put in your cell number. We would recommend that you do fill this in now rather than having to come back and do it later.
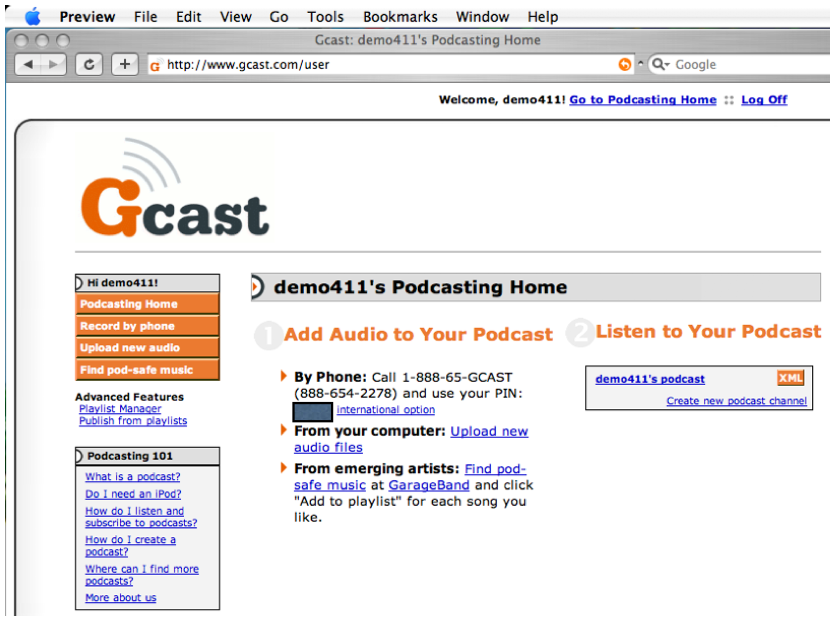
At this point your account is setup and ready for you to upload your MP3 file. Just click on the button on the left labeled Upload new Audio.
NOTE: Up to this point in Step 7 - you have been setting up your hosting for the MP3 files. This is something you only do one time. The following part of Step 7 is what you will do each time you have a new episode. Sometimes people get confused and think you have to do everything all over again when you have your next episode - that is not the case. You just need to repeat the parts relating to the actual upload of the MP3 file.
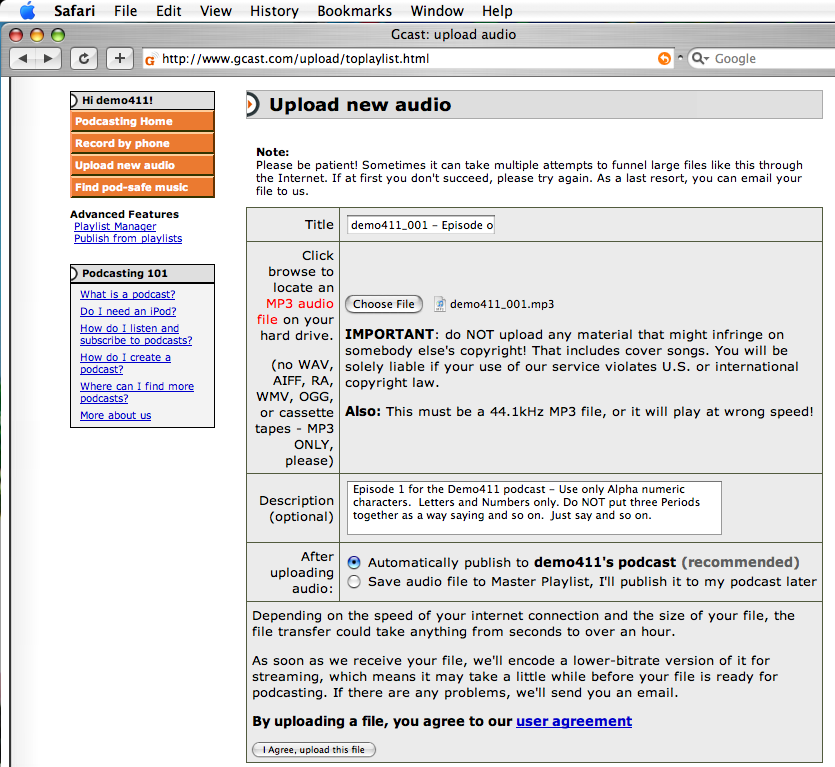
In the title field you will want to remember that what you enter here will over right your title from the ID3 tag for name when the podcast is download via iTunes. So make sure you put in the same information in the Title here that you put in for your ID3 tag for name.
Enter in your description for the podcast. Do NOT use any special characters like $, &, %, or
Just use alpha numeric characters (numbers and letters only.) If you use any special characters here it may cause your feed to break. No there is no warning on the site about this. But there should be.
Next choose the button next to Automatically publish to
Finally click the button I Agree, upload this file.
Then depending on the size of the file it will take a few minutes or more for the file to upload.
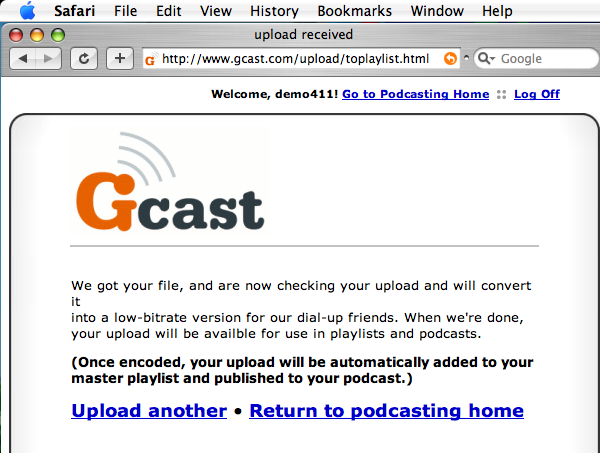
Once the file is successfully uploaded you will see the message above.
Click on "Return to podcasting home"
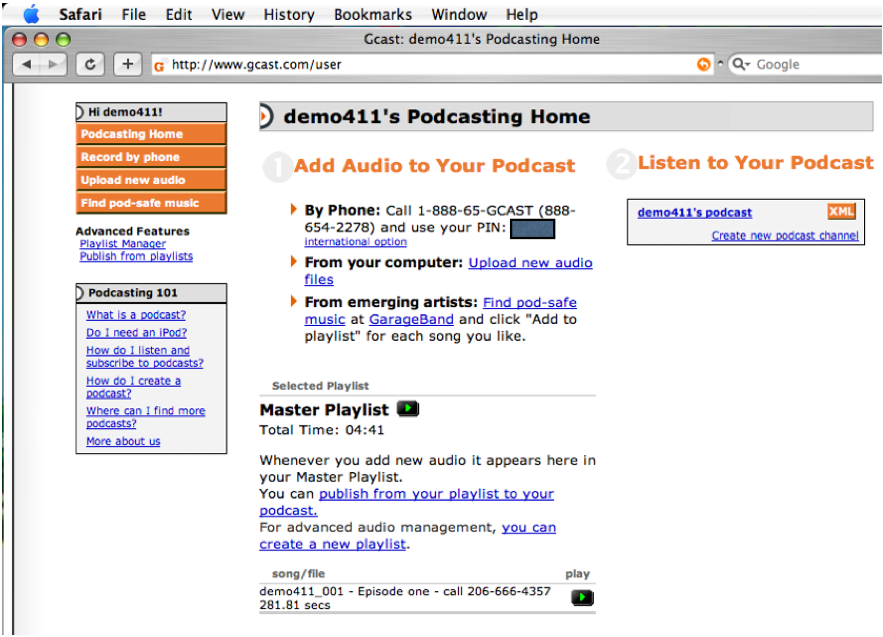
Once your file is available - click on the Play button to hear if it sounds ok and was converted correctly.
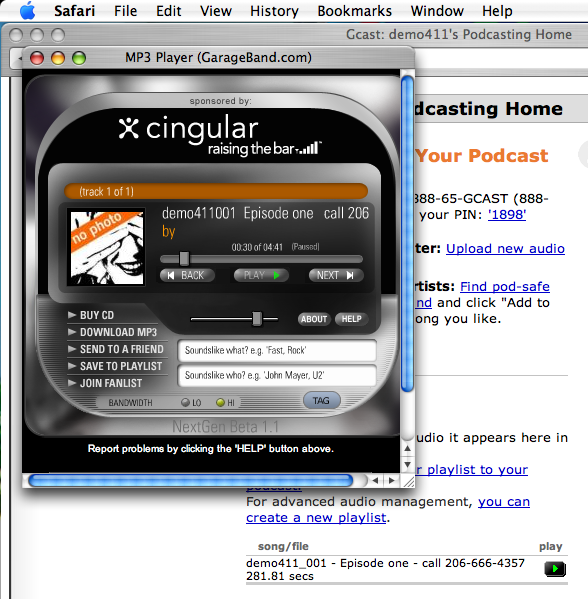
A pop up window will apear with a player in it. If you file sounds chipmonked (it plays to fast) you might need to recheck the settings when you encoded the file to MP3 format back in Step 5.
At this point even though the MP3 file is now uploaded and added to the feed. We are not quite done. We still need to setup a Feedburner Account so that we can maintain control of the feed. We will do that in Step 8.
Continue on to Step 8 -->
<-- Go Back to Step 6
Top
If you liked this tutorial make sure you put a link to it from your website.
http://www.podcast411.com/free/step7.html
If you have comments / questions you would like to add please send an email to the address below and we will post comments / questions on this
page.
rob AT podcast411 DOT com
Comments / Questions
.
Full Disclosure: We have nothing to disclose, there was no payment, favors or any other form of compensation made for any product or service mentioned anywhere in this tutorial. All products were picked on their merits and can and will be replaced if we come across a product or service we feel is better than that already listed. We reserve all rights to determine what we feel makes one product better than another.
|