March 26th, 2007
Creating and Hosting an Audio Podcast for Free
Continue on to Step 9 -->
<-- Go Back to Step 7
Step 8: Creating a Feedburner RSS Feed
In Step 7 we set up hosting with Gcast. In addition to hosting the MP3 files Gcast also creates a RSS feed for us.
http://www.gcast.com/u/demo411/main.xml
Above is the feed created however this is not the feed we want to give out to the world. The reason why is that we do not own or control that feed. Lets say that you decide you want to go with a different hosting company for any reason. And lets say you decide this 6 months from now. At that time you will have xxx number of subscribers and will have put your feed into many different directories. Changing hosting companies would mean you would need to get everyone to re-subscribe to the new feed and you would have to change your feed in all the directories (not easy or even possible).
One free service out there can help with this issue. That service is Feedburner. With Feedburner we can create a public URL for the feed, which behind the scenes will point to the actual feed we already created. Then whenever you want you can change where the feed points, without anyone having to resubscribe and without having to change any information in any of the directories.
Additionally Feedburner also tracks the number of people that subscribe to your feed.
So lets get started and go over to Feedburner and get started.
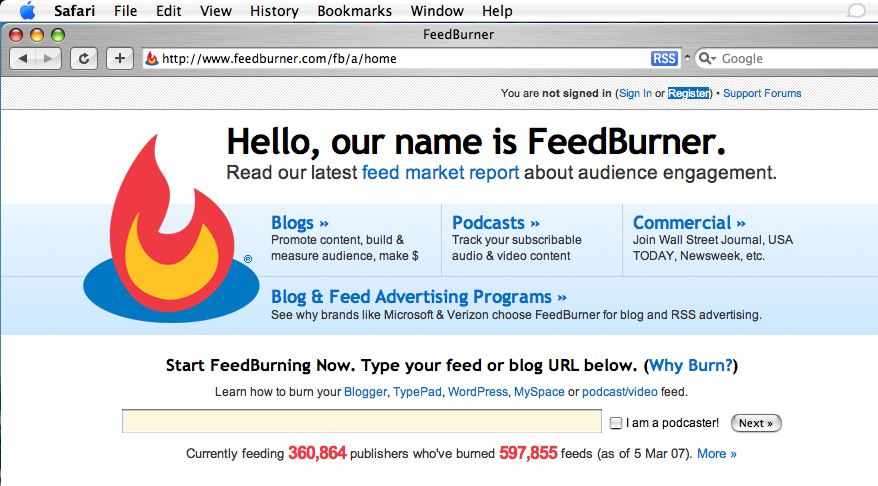
First click on Register from the main page near the upper right.
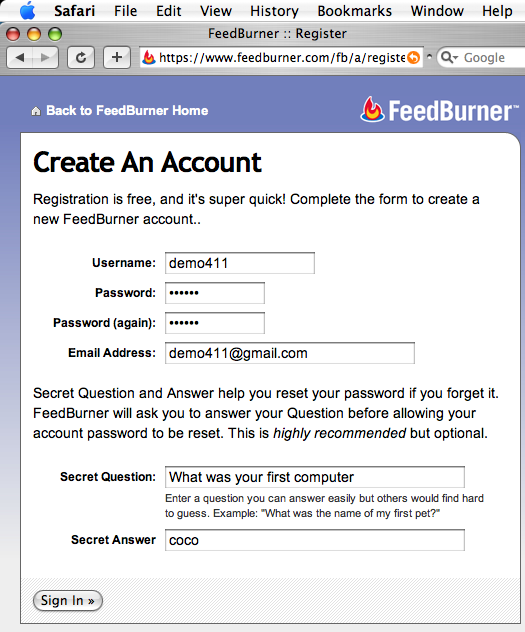
On the Create An Account page fill in the information requested then click on Sign In
If the username is taken you will be brought back to this page and given a message that that user name is taken. Keep trying until you hit one that works. A lot of people use this service so generic terms are rarely taken. The username is not really important because no one will see your username so do not spend to much time trying to think of something that will impress others.
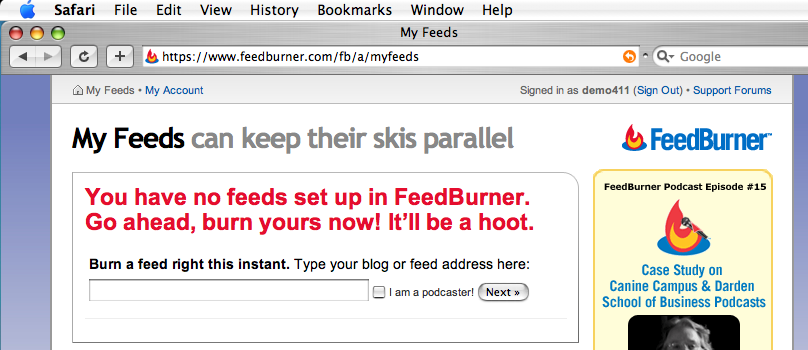
Once you find a user name that works you will be taken to the page above. At this point you need to put in the feed that was created in Gcast. So you will need to open up another window with your browser and log back into gcast.com
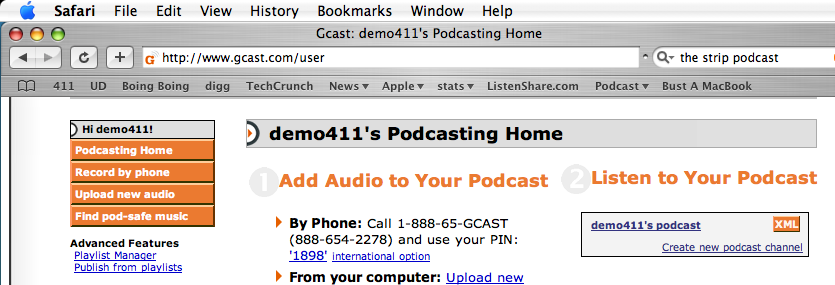
When you are at you home page in Gcast (see above) you will want to click on the Orange button labled XML on the right.
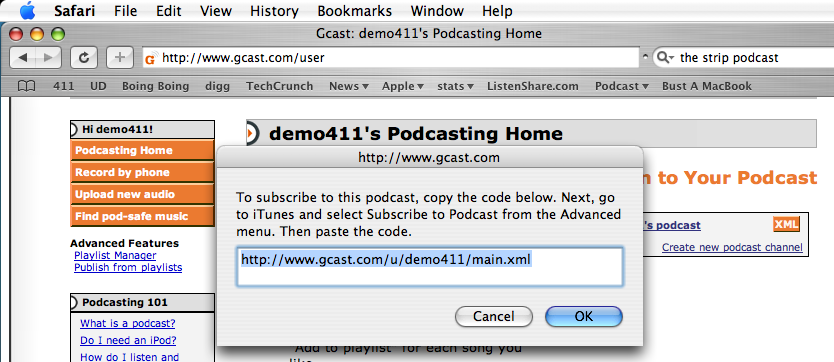
A pop up box will appear as above. You then want to copy the URL in the box and click OK or Cancel it does not matter which.
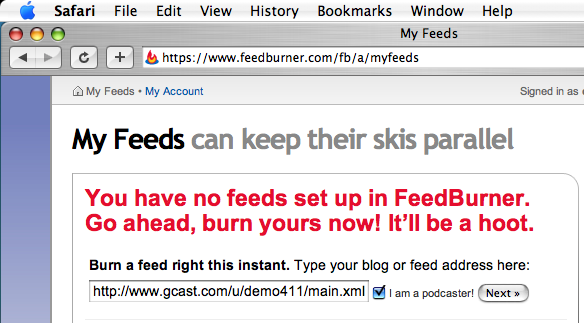
Then you want to go back to the window with Feedburner (per above) and paste in the feed URL in the box, Then click on the check mark box to indicate you are a podcaster. The next step is to click on the Next button.
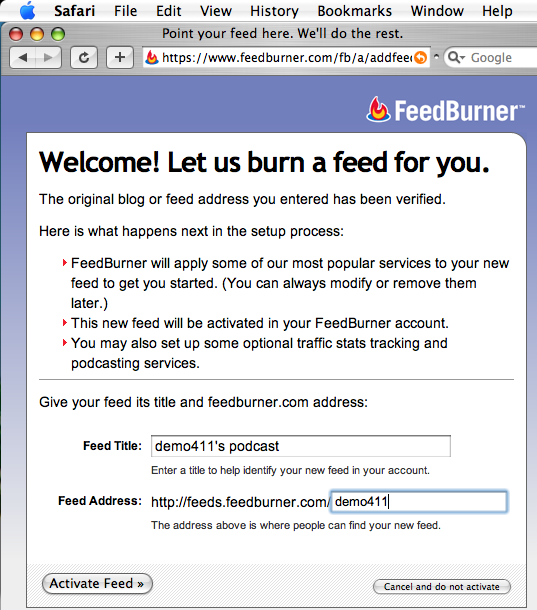
You will then be taken to the page above. This is when you will want to spend some time picking out the correct feed address as that will be seen by the outside world.
I do not recommend using the feed address they throw in automatically as it is usually very long and not easy to remember.
In the case above I entered in demo411 so my full feed URL will be
http://feeds.feedburner.com/demo411
Once you have a feed address you like click on the Activate Feed button. If that address is not available you will be brought back to this page to try again. Keep trying until you find one that is not taken.
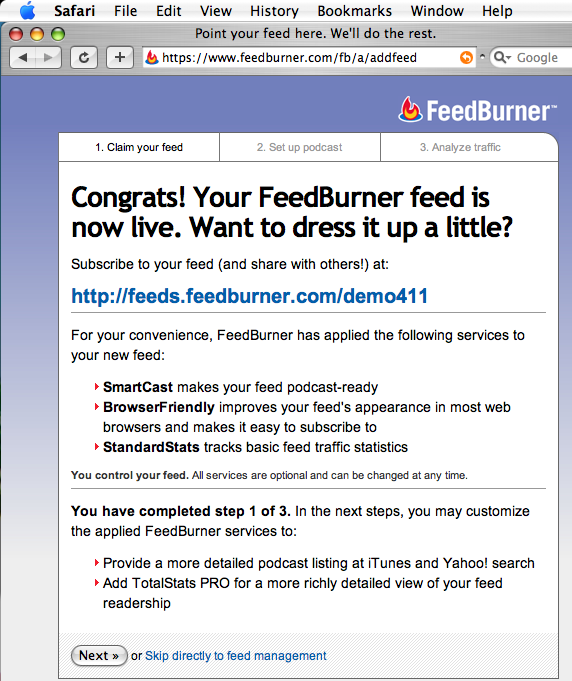
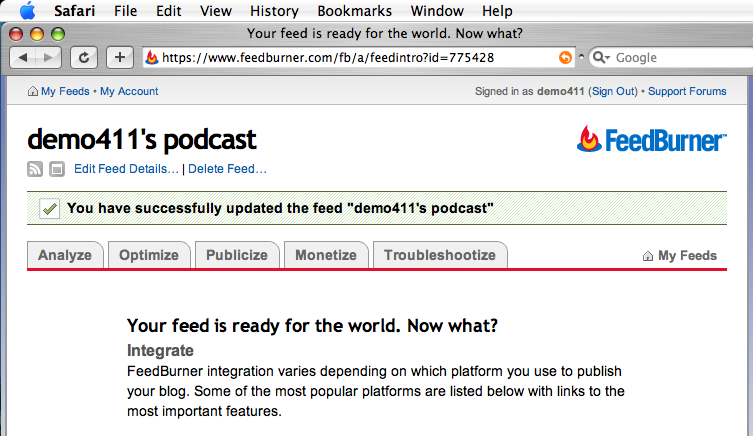
Once you find a feed address that is not taken you will be sent to the page above.
You will see your feed address presented on the page. Please write this down on a piece of paper at this point.
We are not done yet, we still need to optimize the feed to work correctly with iTunes. So click on the Next button to continue on.
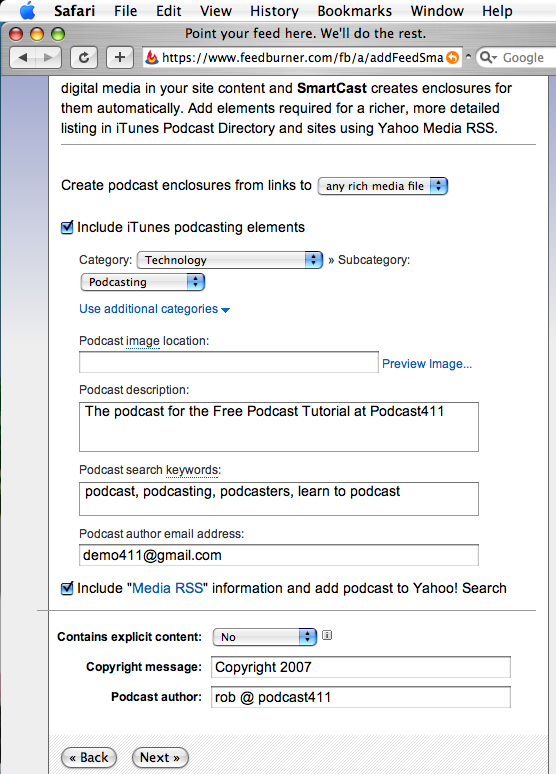
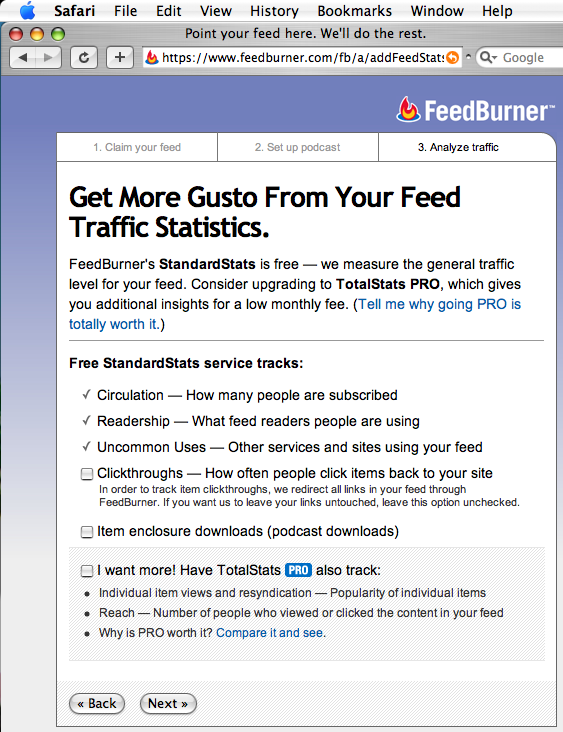
You will be taken to the page above. Fill in the information shown above per your show. Make sure to click the check mark box next to Include iTunes podcasting elements and also the one next to Include media RSS information..
Choose the Category for your show and if shown pick the subcategory (not all categories have subcategories).
Next to Contains Explicit Content make sure you choose Yes if you think you show may have any explicit content. This will not effect your show getting into iTunes however if you do not choose Yes and your show does have explicit content and someone complains iTunes will kick you out of the store and it is not easy to get back in once you have been kicked out. Again Apple does not care if you have explicit content only if you do not label you show as such.
Earlier I said not to upload your image into Gcast. This is where you will add your image. However Feedburner does not allow you to upload your image so you will need to either already have your image uploaded on another site, or will have to upload it now.
There is a really easy (and free) site we found for doing this.

Go to http://allyoucanupload.webshots.com per the screen above.
Click on Choose File and then find the JPG image you want to use. You must choose a JPG image for this step.
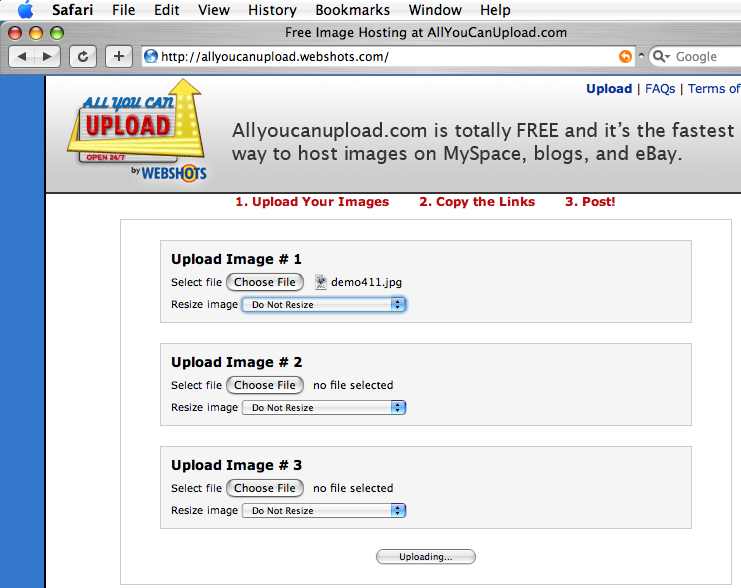
Once you choose the correct image, you will and to change the drop down box next to Resize Image to Do not resize
We should point out that Apple ideally wants an image that is at lease 300 x 300 pixels. If you are not sure about the size of the image or have no idea what a pixel is then you can leave the setting at 640 x 480 but please understand this will likely stretch your image.
Next Click on Uploading
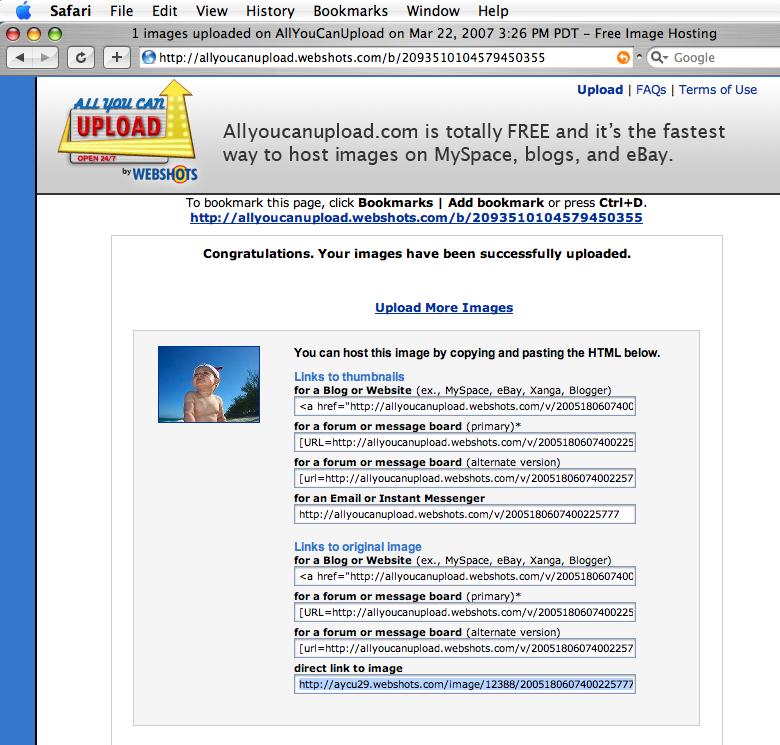
After the image has uploaded you will be taken to the screen above.
At the bottom of the list select and copy the URL under Direct Link to Image
If you want to you can open another window and paste the link into the address bar and hit return to see what you image looks like. This is advised even if you did not choose to resize.
Update: The free and easy service from allyoucanupload.webshots.com -
seems to be having some issues. They state any images you upload are
saved forever. But that does not appear to be the case. I will be
updating this section showing you how to create a flickr account and
how to upload to flickr. It is not as easy as
allyoucanupload.webshots.com - but it is reliable.
Back in the Feedburner window.
Paste in the URL for the image in the box under Podcast image Location
At this point if you have all of the information filled in you can click in the Next button.
You will then be taken to the page above. At this point just click Next
Finally you are taken to this page.
We are now ready for Step 9 where we will validate the feed.
Continue on to Step 9 -->
<-- Go Back to Step 7
Top
If you liked this tutorial make sure you put a link to it from your website.
http://www.podcast411.com/free/step8.htmlIf you have comments / questions you would like to add please send an email to the address below and we will post comments / questions on this
page.
rob AT podcast411 DOT com
Comments / Questions
.
Full Disclosure: We have nothing to disclose, there was no payment, favors or any other form of compensation made for any product or service mentioned anywhere in this tutorial. All products were picked on their merits and can and will be replaced if we come across a product or service we feel is better than that already listed. We reserve all rights to determine what we feel makes one product better than another.
|