March 24th, 2007
Creating and Hosting an Audio Podcast for Free
Continue on to Step 6 -->
<-- Go Back to Step 4
Step 5: Encoding to MP3 Format
When it comes to Audio Podcasts MP3 format is by far the default standard with well over 95% of all Audio Podcasts in MP3 format. In this step we will show you how to convert a WAV file into MP3 format using iTunes.
NOTE: Before anyone sends me an email asking about the lame encoder in Audacity We choose iTunes for two reasons, One, This gets people in the habit of exporting from Audacity into WAV format so that they can run the final exported file through Levelator (Step4) and Two, The next step will be adding in ID3 tags and iTunes does a much better job for that.)
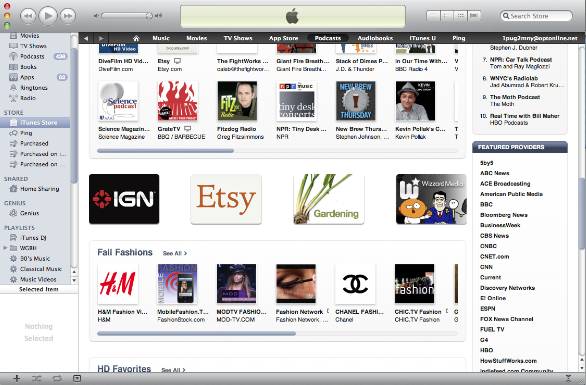
ITunes can be downloaded from the Apple site by going to this link (add link) and clicking on Download. Once you have installed iTunes and have launched it we will need to change some of the preferences.
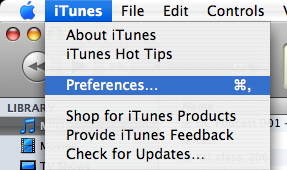
On the Mac Preferences are located under iTunes in the menu bar. On the PC it is located under File
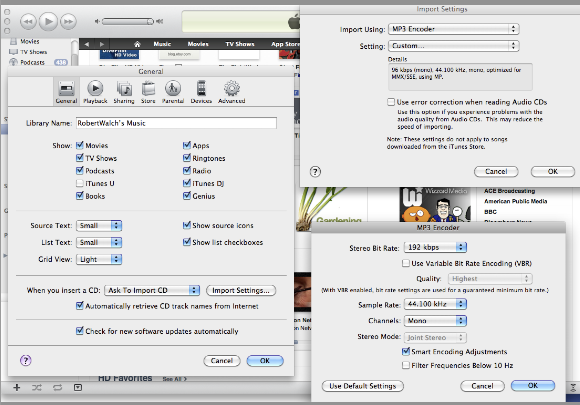
Once Preferences is open, select Advanced then Importing. Next Choose Import Using: and set it to MP3 Encoder
For Setting Choose Custom A new pop up window should appear. Choose the settings per the screen shot above.
Stereo Bit Rate: 128 kbps
Sample Rate: 44.1 kHz
Channels: Stereo
Stereo Mode: Joint Stereo
Once you make the changes - Click Ok and then Ok again.
Note: It is very very important to make sure the Sample Rate is set to 44.1 kHz. If you choose any other setting, your recording will not play correctly on some of the flash players found at various podcast directories.
You are now ready to import the WAV file into iTunes.
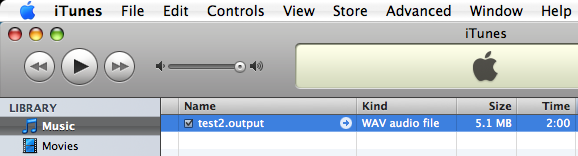
To import the file drag the WAV file into iTunes. It will place the file in the Music Section of iTunes. As can be seen above for this example the file Kind is WAV audio and the size is 5.1 MB. Click once to select the file (This will highlight the file).
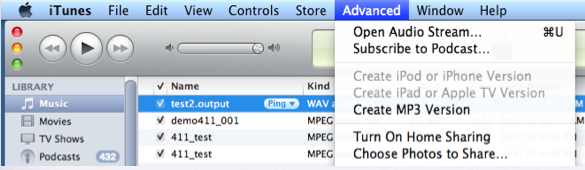
To convert this file Select Advanced from the menu bar and then Covert Selection to MP3.

It will take a few seconds to convert the file. When it is done you will hear an audible ping. You can see there is now a second file with the same name as the first. But the Kind is MPEG audio and the size is 1.9 MB versus the original 5.1 MB.
The file has now been successfully encoded into MP3 format and with settings that will allow it to play correctly on the many different flash players and MP3 players out there.
In the next Step we will show you how to add in ID3 tags from within iTunes.
Continue on to Step 6 -->
<-- Go Back to Step 4
Top
If you liked this tutorial make sure you put a link to it from your website.
http://www.podcast411.com/free/step5.html
If you have comments / questions you would like to add please send an email to the address below and we will post comments / questions on this
page.
rob AT podcast411 DOT com
Comments / Questions
.
Full Disclosure: We have nothing to disclose, there was no payment, favors or any other form of compensation made for any product or service mentioned anywhere in this tutorial. All products were picked on their merits and can and will be replaced if we come across a product or service we feel is better than that already listed. We reserve all rights to determine what we feel makes one product better than another.
|