October 10th 2010
Podcast101 - Creating and Hosting an Audio Podcast
Continue on to Step 8 -->
<-- Go Back to Step 6
Step 7: Setting up the hosting service
At this point the MP3 file is completed with all the proper ID3 tags, but what do you do with the file? That is a common question. First we need to drag the MP3 file out of iTunes and to a place on your computer where you can easily locate it later. (I always just drag it to my desktop and keep it there until after I am done uploading it)
Note: You will need to rename the file as when you drag it out, all of the info in the name tag, then becomes the filename. Just rename to something shorter and WITH OUT SPACES. I rename my files as "411_070320.mp3" Where 070320 is the Year / Month / Day. I use the YYMMDD format because it sorts better in my folders.
The service we are going to show you in this tutorial is libsyn.com, which was the first podcast hosting provider and is very easy to use. I use libsyn.com to host the MP3 files for both my podcasts - podCast411 and Today in iOS. libsyn is a pay for service that starts out at $5 a month and increases based on how much you plan to upload each month.
You do NOT pay for bandwidth useage - so if your show gets 5 downloads or 5,000 or 500,000+ downloads a month you pay the same rate. This means no fear for you if your show gets popular. Additionaly the total storage increases - so after a file is over 30 days old it no longer counts against your upload quota - but the file is still available for download. This is great because it means you never have to take down files. Finally libsyn offers great stats that are accurate. It is for those three key reasons I highly recommend libsyn.
However, at this point it does not matter where you choose as a host your files - as we are going to set up the feed in Step 8 to allow you to switch from one hosting service to another with no impact on your listeners.
Before we go any further - you do need to make sure you have a good looking 600 x 600 pixel (jpg or png) logo for your show. This is something that should look good and be readable when shrunk to 57 x 57 pixels. You are also going to need the MP3 file ready from the past few steps
You will need to have at least one episode on your RSS feed before you can submit your RSS feed to iTunes and the other directories.
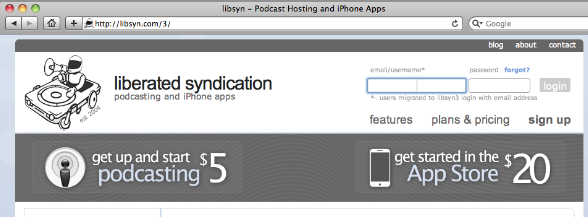
To start go to libsyn.com and then click on "sign up" in the upper right. That will take you to the screen shot below.
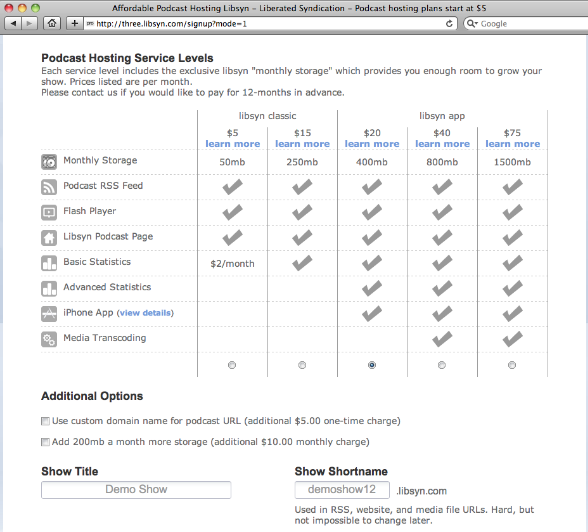
Next click on the service level you need.
If you were to release one new show a week and it was 10 minutes long - then the 50 MB account would be fine.
If you release one show a week and it is 60 minutes (file size about 45 MB) then you would need the 250 MB account.
If you also wanted advanced stats and a smartphone app of your show - then the 400 MB account would be suggested.
Once you select your level - you need to put in the show title and the show shortname. The show shortname has to be unique to you - there are over 15,000 shows on libsyn so many common words are taken. After you find a unique name scroll down on that screen (see below).
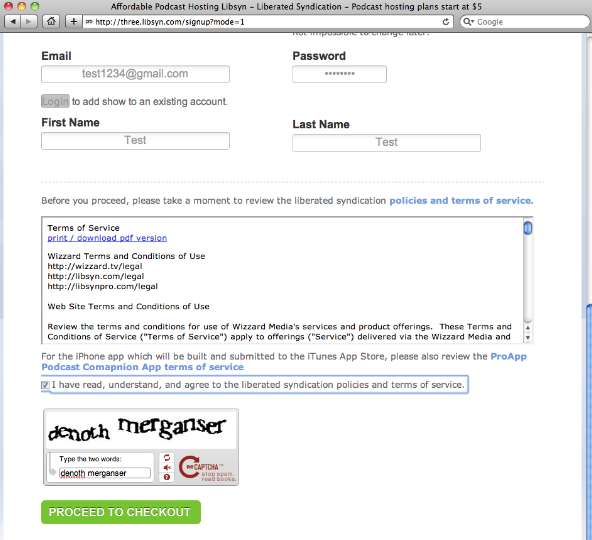
Next put in your email address, password, First and Last name. Then READ the Terms of Service (TOS). Once you read the TOS check the box indicating you have done so. Enter in the captcha password shown and then click the green button "Proceed to Checkout"
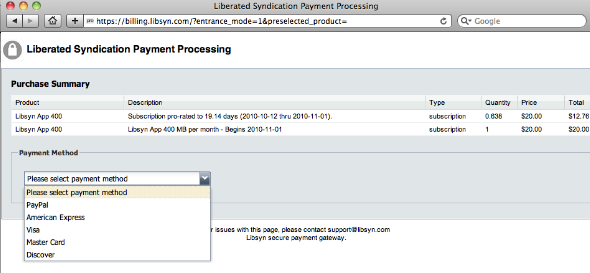
You can then pay via the methods shown above. Once you complete the payment process. You will want to go back to libsyn.com and log in with your email address and password.
The first time you log in you will want to go to “Account” in the upper right and change your password and set your time zone.
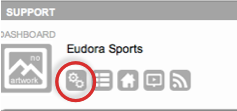
Next in the upper Left click on the gears:

Then in the drop down box - select “Upload” for the Artwork and upload your 600 x 600 pixel image. Additionally edit the text boxes as appropriate. Title, Description and Keywords are the most important to edit. Actually Title is the most important as that is how people will search for and find your show in iTunes. Also make sure to select the box next to “Moderate Comments” in the lower left.
When done make sure to click “Save”
Then in the upper Left click on “Podcast RSS Feed” - In the form that appears - select your iTunes Category. Enter in the other information in the the additional text boxes. At this time don’t worry about iTunes Store ID or Pinging. And do not click on Advanced Options. Once all of the information is in Click on “Save”
With your libsyn3 account you also get a Web Page / Blog page.
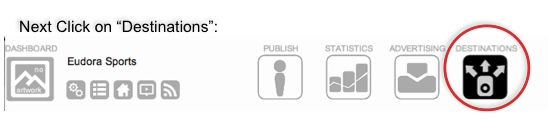
1. While in the Destinations Tab - click on “Libsyn Podcast Page”.
2. Scroll to the bottom of the page and pick the template you want to use.
3. After you select the template you like you can by editing the Blogpage HTML/Code modify it to look specifically how you like. NOTE: This is not for the faint of heart and does require understanding of HTML Code.
Here are some examples of what others have done:
http://brinimaxwell.libsyn.com/
http://romeo.libsyn.com
http://tii.libsyn.com
http://makena.libsyn.com/
With your Libsyn 3 Account you also can manage your Flash Media Player
1. While in the Destinations Tab - click on “Flash Player”.
2. Select the player size and features you would like.
Note: You can make the player any Width and Height you would like. Just click in the box for each and over write with the dimensions you need. Or simply select one of the default options.
For more information Review the tutorials under Quick Tips
For any 400 MB or larger Libsyn 3 account you also get an iPhone App.
1. While in the Destinations Tab - click on “Podcast Companion App”.
2. Fill in the information per the form that appears.
There is in this step the need for Artwork that is
57 x 57 Pixels
320 x 480 Pixels
512 x 512 Pixels
For more info please go to these two links:
http://dev-wp.libsyn.com/?page_id=147
http://dev-wp.libsyn.com/?page_id=152
NOTE: Up to this point in Step 7 - you have been setting up your hosting for the MP3 files. This is something you only do one time. The following part of Step 7 is what you will do each time you have a new episode. Sometimes people get confused and think you have to do everything all over again when you have your next episode - that is not the case. You just need to repeat the parts relating to the actual upload of the MP3 file.
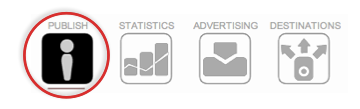
First Select the “Publish” tab

You will want to be in “basic” mode.
1. Fill in a title. For the first episode just call it something like “XYZ Show Preview”.
2. Put in a short description (Optional - but recommended)
3. If you want an image to appear on the blog page with the post click “Upload” under “Thumbnail. (Optional)
4. For "Category" you can put in a custom category for this episode. If you plan to do both blog posts and podcast posts - maybe just call this "podcast" (Optional)
5. For Release Date - it is set by default to release immediately. But say you are going on vacation you could upload a few episodes and schedule them to release at a future day and time. (Optional - by default will just release now)
6. Tags / Keywords - these are good to put in (coma separated) so that in iTunes each episode can be associated with a specific keyword. (Optional - But recommended)
7. Ratings - If you episode is explicit - you MUST label it as such. Apple does not care what you say on your show - they do care if you do not label an episode as explicit. What is explicit content - Any of George Carlins 7 dirty words - and if in doubt - better to label as explicit. Apple will kick your podcast out of the iTunes Podcast section if they get a complaint and you don't have proper tagging. (Optional if not explicit - Required if explicit)
Scroll down to see where to upload your media files.
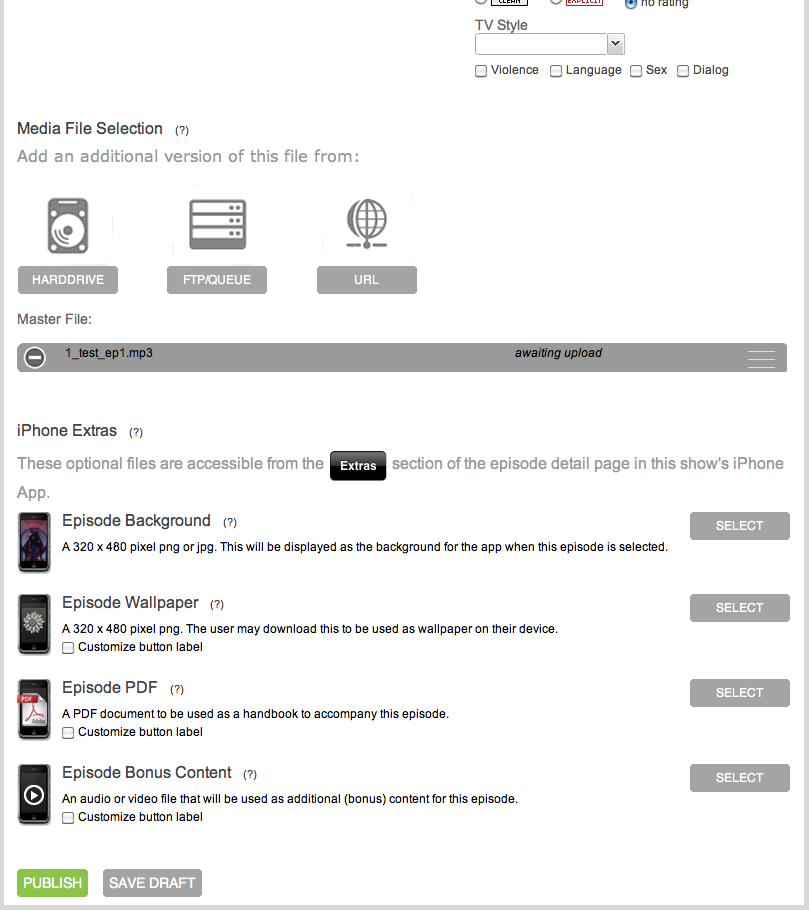
There are three ways you can upload a file to your libsyn account.
a. Directly from you hard drive via the web browser.
b. Via FTP client into the Drop Box folder.
c. Import directly from a URL - if the file is uploaded on another service.
For this tutorial we will just talk about the first one - uploading from your hard drive.
Select “Harddrive” to select the MP3 file from your computer.
Click the Green “Publish” button (Required). At the top it will give the status of the upload in a blue bar. Once it is uploaded it will take you to a summary page. Depending on the size of the file and your upload speed it can take 15, 20 or more minutes to upload a file.
Note: If you had an iPhone / Smartphone App - here is where you would also publish bonus content for that episode.
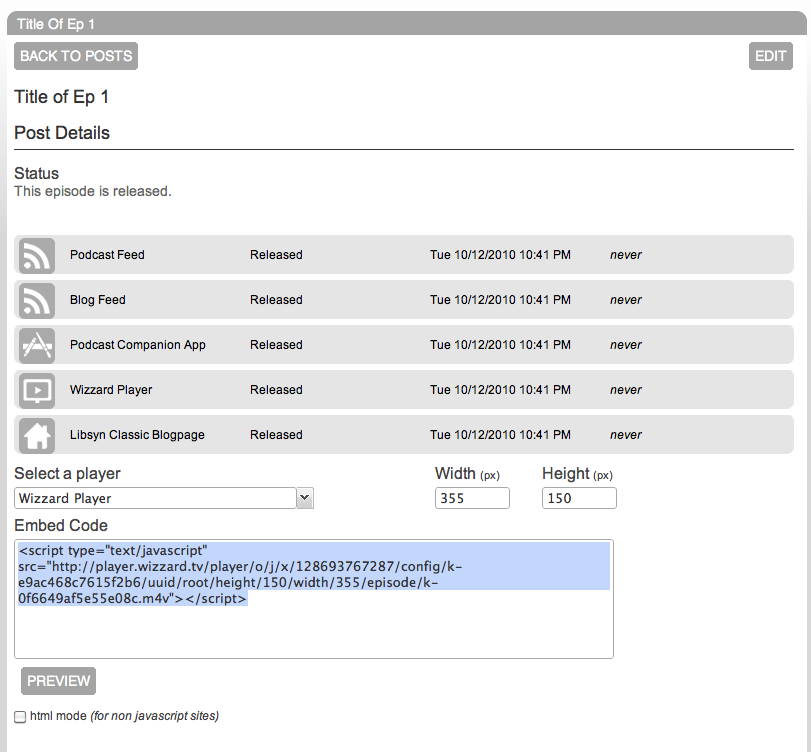
Once the file is done uploading your episode will be published or if you selected a future date - the post will wait until the day and time you selected before going live. After the file is uploaded you will be taken to the screen above - which is a summary of the information for the episode you just published. If you have a web player set up, you will get embed code for that episode to post on your site / blog.
At this point even though the MP3 file is now uploaded and added to the feed, we are not quite done. We still need to setup a Feedburner Account so that we can maintain control of the feed. We will do that in Step 8.
Continue on to Step 8 -->
<-- Go Back to Step 6
Top
If you liked this tutorial make sure you put a link to it from your website.
http://www.podcast411.com/podcast101/step7.html
If you have comments / questions you would like to add please send an email to the address below and we will post comments / questions on this page.
rob AT podcast411 DOT com
Comments / Questions
.
Full Disclosure: As stated earlier in the tutorial I work for Wizzard Media / libsyn for my Day job. That said I used libsyn for hosting for 2 1/2 years before working for them and did then and still do highly recommend the libsyn hosting service.
|